Ok so I get a lot of questions on the double slip stitch, and since I can’t find any photo or video tutorials online I’m putting one up here. I don’t have access to a video recorder other than my phone 😛 so it’s just going to be a photo tut.
Ok I’m following how I did it in my last Ribby Slouch Hat, and working this stitch flat.
 I started with a base of 10 hdc stitches.
 Ch 1 and turn. Next row will be a double slip stitch row
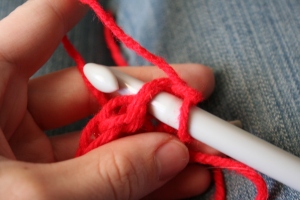 Insert hook into first stitch.
 Pull through one loop on hook. Slip stitch made.
 Insert hook back into first stitch
 Insert hook into second stitch
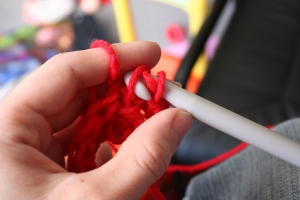 Pull that last yarn over through both loops on hook!
 One double slip stitch made. Hooray!
 Then to keep going, work another double slip stitch-insert hook into second stitch again
 Pull that last loop through the two loops on the hook. Another double slip stitch made!
Keep going with the double slip stitch across to the end. Remember, each stitch gets 2 slip stitches!(Quick note-this is the wrong side facing you right now) Ch 2 and the end and turn
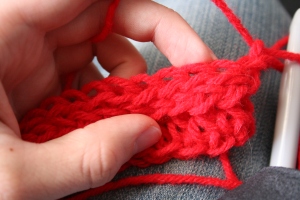 Now the right side is facing. See how the double slip stitch has made two horizontal rows of v-shaped stitches? Now, if you turn the work towards you..
 You’ll see that there is another set of v-shaped stitches sitting on top, like normal. This is where you’ll work your second row, of hdc stitches.
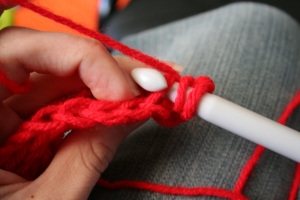
Insert hook into the back loop only of the first stitch, then work an hdc as usual.
This will result in a loose rib, but it will look very much like it was knit. If you want a tighter rib, use a single crochet, looser a double crochet.
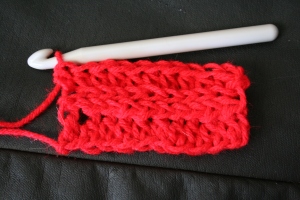 Right side facing, after last hdc row made.
I hope this helps to better illustrate how to do this stitch. Please message me with any additional questions though!


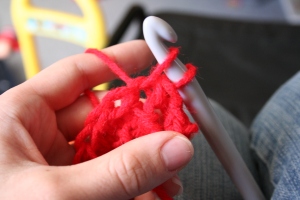
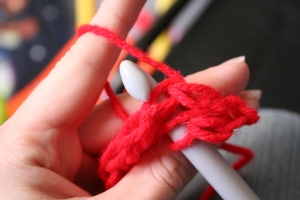


Thank you for the tutorial, it was a great help! I’m trying out your Ribby Slouch in a baby hat size first. I can’t wait to see what it looks like finished.
you’re welcome! post some pics when you’re done I’d love to see it 🙂
How very clever! I’m pretty new to slst’in and have made a few hats with this technique, but have never seen this type of slst mentioned. It looks GREAT. I love how it actually looks knit. I’m going to try this out for my husbands hat 😀
I really love slip stitch! And the double slip stitch is pretty fun to do, in my opinion 🙂 Send me a pic if you do use it!
Could you add a photo showing exactly where you insert your hook to begin the row? Maybe you could use a needle inserted into the right place and snap a photo.
I love your Nuance Hat and want to give it a try. Thanks for posting the pattern and this tutorial.
Yeah I can try to get one up soon as I can 🙂 it’s the very first stitch of the row, under the two bars. Just as if you were working a normal row.
thank you.
thank you for the double slip stitch tutorial. i was just fortunate to find it!!! i am short on time!!!
The last stitch in the row gets only one slip stitch in it, right?